
_edited.png)
The ¼-Inch Seam: Finding What Works for You and Your Machine
If you've been quilting for more than about five minutes, you've probably heard it:
“Use a ¼-inch seam allowance.”
Easy enough, right?
Line up your fabric ¼ inch from the needle and start sewing.
Except sometimes you carefully sew all your pieces together, press your block, measure it and discover...
It's too small.
Or too big.
And suddenly that simple little ¼-inch seam doesn't seem quite so simple anymore.
Finding your quarter inch seam isn't always as straightforward as it sounds.
The good news is that getting an accurate ¼-inch seam isn't about having a perfectly calibrated eyeball. There are several ways to find it, and the method that works best for me may not be the one that works best for you—or even for your sewing machine.
Why Does ¼ Inch Matter So Much?
Being off by a tiny amount on one seam probably doesn't sound like a big deal.
And sometimes it isn't.
But quilting has a sneaky way of multiplying tiny differences.
If a block contains several seams, being off just a little at each one can add up. By the time the block is finished, it may no longer measure what the pattern says it should.
Then we start joining blocks.
And rows.
And suddenly we're wondering why two sections that are supposed to be the same length aren't even close.
Ask me how I know. 😉
Accuracy at the beginning can save a lot of frustration later.
Notice I said accuracy, though—not perfection.

Different Ways to Find Your Quarter Inch Seam
There isn't just one way to do it.
Depending on your machine and what feels most natural to you, there are several good options.
Use Your Presser Foot
A ¼-inch quilting foot is probably one of the easiest options.
On many of these feet, the right edge of the foot is designed to sit ¼ inch from the needle.
You simply guide the raw edge of your fabric along the edge of the foot as you sew.
Some machines even have a dedicated ¼-inch foot with a guide that rides along the fabric edge.
But don't automatically assume that putting on a foot labeled “¼ inch” guarantees a perfect result.
Test it.
Machines vary, feet vary and needle position can sometimes be adjusted. What gives me an accurate seam on my machine may be slightly different on yours.
Use the Markings on Your Machine
Take a look at the throat plate on your sewing machine.

Those little lines aren't just decoration.
Most machines have seam allowance markings that can be used to guide the edge of your fabric as you sew. If your machine has a clearly marked ¼-inch line, you may find that's all you need.
For some quilters, though, that little line can be difficult to follow—especially when you're concentrating on everything else happening at the machine.
That's where adding a longer or physical guide can help.
Try a Seam Gauge or Seam Guide
A seam gauge can help you determine exactly where ¼ inch falls in relation to your needle.
Once you've found that position, you can use it to place a guide on the machine bed.
Some sewing machines also have an adjustable seam guide that attaches to the presser foot or machine.
The goal isn't really about which gadget you use. It's simply giving yourself a consistent reference point, so the fabric stays where you want it.
Magnetic Seam Guides and Tape Work, Too
A magnetic seam guide can be positioned on a compatible metal machine bed to create a little wall for the fabric edge to follow.
Simple painter's or masking tape can accomplish something similar.
Place a strip at the correct position and suddenly you have a much longer visual guide than that tiny mark on the throat plate.
Nothing fancy required.
Just be sure a magnetic guide is appropriate for your particular sewing machine before using one.


Here's the Trick: Don't Watch the Needle
This was honestly one of my biggest “aha!” moments when I was learning to quilt.
Stop watching the needle.
It sounds almost wrong, doesn't it? You're sewing, so naturally you want to watch the part of the machine that's actually doing the sewing.
But the needle is going to do its job. It's going up and down, and unless something has gone terribly sideways, it isn't going anywhere. 😉
What actually determines whether I'm maintaining that ¼-inch seam is what’s happening before the fabric ever reaches the needle.
So instead of watching the needle, I watch the edge of my fabric in relation to whatever guide I've chosen—the edge of my presser foot, a marking on the throat plate, tape or a seam guide.
Once I started doing that, maintaining a consistent seam became so much easier.
Don't Forget Those Last Few Stitches
There's another place I've caught myself losing an accurate seam.
Right at the end.
I'll guide the fabric beautifully for the entire seam, and then as the last little bit disappears underneath the presser foot, I'll let go too soon.
The fabric pulls away from the guide.
And there goes my nice straight seam—right at the finish line.
This is where a stiletto can be really handy.
A sewing stiletto lets you continue controlling the edge of the fabric when the piece gets too close to the presser foot for your fingers to safely hold it. Some quilters carefully use the point of a seam ripper for the same purpose.

The important part is keeping your fingers safely away from the needle while continuing to guide that last bit of fabric until the seam is actually finished.
Don't abandon it three stitches before the end.
I've done it.
More than once. 😉
Your Machine Gets a Vote
This is something that's easy to overlook.
Your ¼ inch may not look exactly like mine.
Different sewing machines have different presser feet, throat plates and needle positions.
Even switching machines in your own sewing room can mean needing to check your seam allowance again.
That's why I don't think the goal should be memorizing exactly where the fabric needs to sit.
The better skill is learning how to test your machine and find the position that produces the measurement you need.
And there's one more little wrinkle.
Sometimes ¼ Inch Isn't Quite ¼ Inch
Let's say you measure exactly ¼ inch from the edge of your fabric to the stitching line.
Technically, you nailed it.
But after you press the seam, your finished piece can still be slightly smaller than expected.
Why?
Because fabric has thickness.
When you press a seam to one side, a tiny amount of fabric is taken up as it folds over the thread and seam allowance. The thickness of the fabric and even the thread can affect the finished measurement.
With regular quilting cotton, the difference may be tiny.
But we don't always quilt with regular quilting cotton.
Maybe you're making a T-shirt quilt, where stabilized knit fabric can be thicker than quilting cotton.
Maybe you're working with fabric that has fusible interfacing or stabilizer applied to the back.
You might be using flannel, denim or another heavier fabric in a project.
Even within quilting cottons, fabrics aren't necessarily identical in weight and thickness.
That's why a seam setting that gives you a beautifully accurate finished block with one fabric isn't guaranteed to give you exactly the same result with another.
And that's where you've probably heard the term scant ¼-inch seam.
A scant ¼-inch seam is sewn just a hair narrower than a true ¼ inch to compensate for the tiny amount taken up when the fabric is folded and pressed.
And by “a hair,” I mean a hair.
We're not suddenly sewing a 3/16-inch seam and calling it close enough. 😉
Don't Guess—Test It
This may be the most useful thing you can take away from this whole conversation.
Before starting a project with lots of piecing, grab a few scraps of the actual fabric you're going to use.
Not just whatever scrap happens to be sitting beside your sewing machine.
If you're piecing quilting cotton, test quilting cotton.
If your project involves stabilized fabric, test the stabilized fabric.
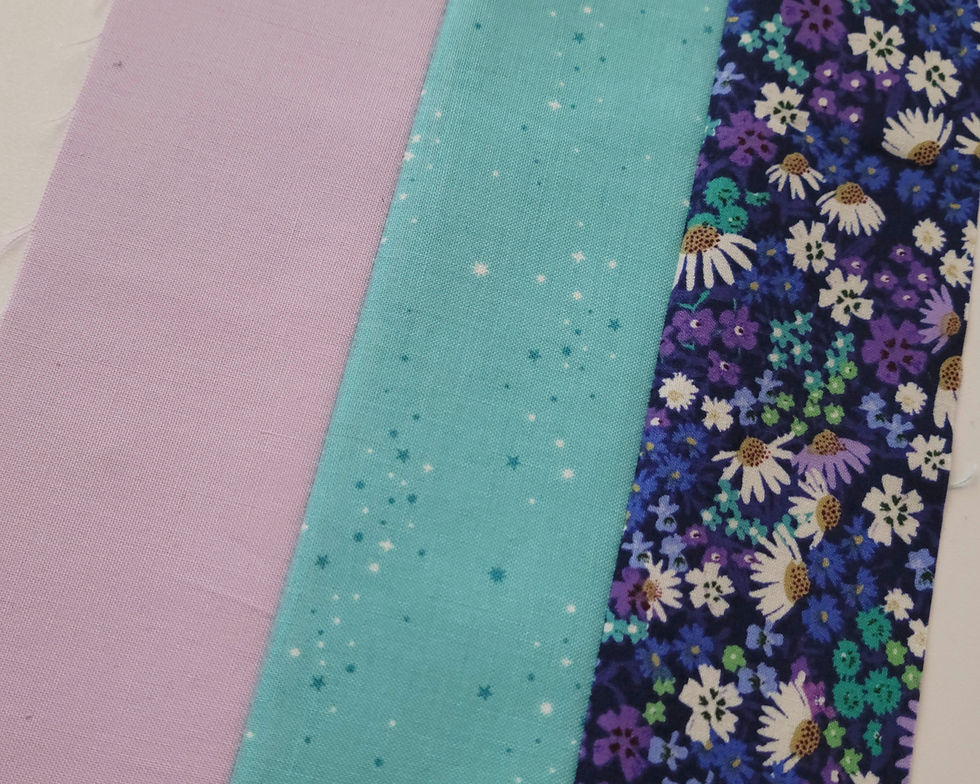
Sew the pieces together using what you believe is your ¼-inch seam. I like to make a small strip set.
Then press them the same way you're going to press the actual project.
And measure. A 2½-inch strip should measure 2 inches finished.
The goal isn't necessarily proving that the stitching line is exactly ¼ inch from the raw edge.
The real question is:
Does the finished unit measure what it's supposed to measure?
If it's consistently too small, your seam may need to move ever so slightly toward the raw edge.
If it's consistently too large, you may need to move it slightly farther in.
Make a tiny adjustment and test again.
Once you've found that sweet spot, you've found the seam allowance that works for your machine, your fabric and your project.
Consistency Beats Perfection
I think sometimes we make quilting harder on ourselves because we're chasing “perfect.”
Perfect points.
Perfect blocks.
The perfect ¼-inch seam.
I'd rather aim for consistent and accurate.
Learn your machine.
Find a guide that works for you.
Watch the fabric—not the needle.
Guide that seam all the way to the end.
And take a couple of minutes to test your seam before you've pieced 47 blocks and discovered they're all ⅛ inch too small.
If something isn't measuring correctly, make an adjustment.
That's not failing at quilting.
That's understanding your quilting well enough to know why something isn't working and what you can do about it.
And that's where confidence starts.
One little ¼-inch seam at a time.
Enjoy quilting tips like these?
Join the A Ribbon Run Thru It Quilt Circle and get quilting tips, inspiration, fabric ideas and a little encouragement delivered straight to your inbox.
You'll also get my FREE No-Guesswork Fabric Pull Guide plus 10% off your first online order.
No clutter. No overflowing inbox. Just quilting, fabric and inspiration worth opening.


Comments